How to design a flyer: A step-by-step guide for beginners

Share How to design a flyer: A step-by-step guide for beginners
Explore more from
Design basics
Bring your print ideas to life in Figma Buzz
Create, share, and iterate together seamlessly.

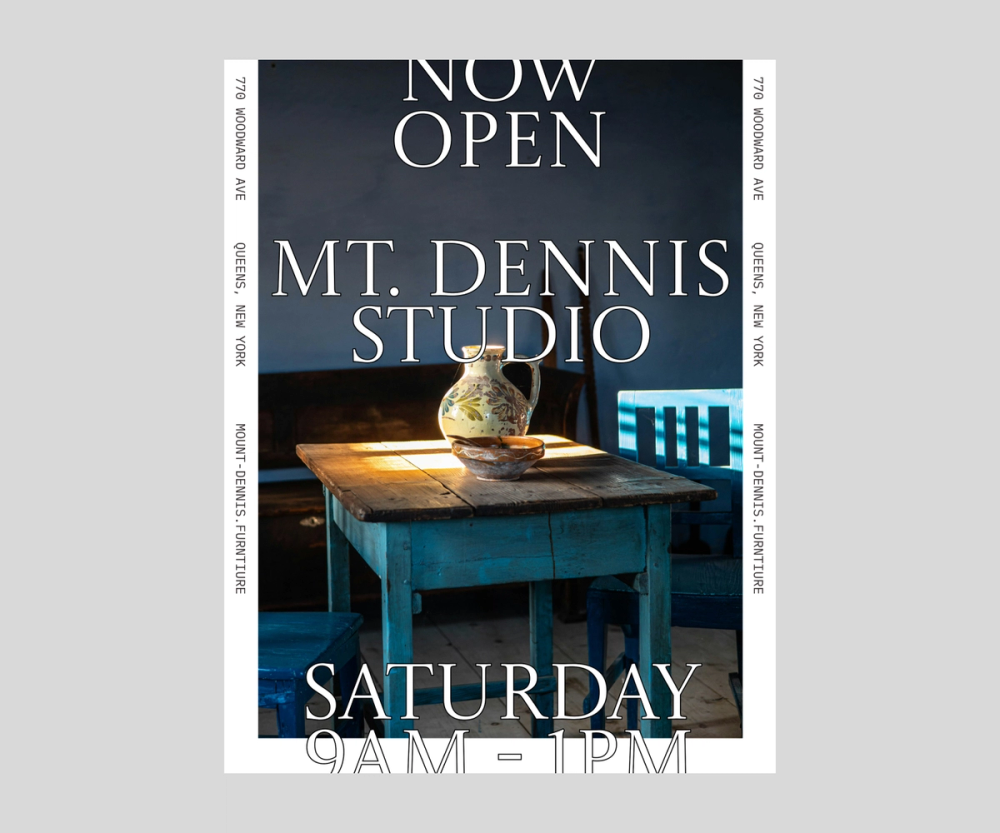
Flyers are a fast, cost-effective way to promote events, share announcements, launch new products, or drive attention to a product or service. Learning how to design a flyer can be simple and easy, even if you’re starting from scratch.
Whether you’re advertising a grand opening or designing handouts for a fundraiser, a well-designed flyer can help you connect with your audience and inspire action.
Read on to learn:
- How to create a flyer in six steps
- Quick tips for maximizing flyer impact
- Answers to common questions about flyer design
Step 1: Define your goal and audience
Before you start and create a flyer, consider who you want to see it and what you want them to get out of it. Some helpful questions to ask yourself include:
- What are you promoting?
- Who is the target audience for the event or product you’re promoting?
- What do you want readers to do after reading the flyer?
- Who’s most likely to take action?
- How will you determine if the flyer helped?
These questions will influence every decision you make for your flyer, from the font you choose to where you hand them out. For example, a flyer for a networking event will look very different from one for a children’s store grand opening.
Pro tip: Start with a flyer template that matches your goal—like an event flyer template, business flyer template, or party flyer template.
Step 2: Gather your essentials

Once you have some direction for what your flyer should accomplish, it’s time to gather everything you need to create it. This can include:
- Color palettes
- Copy guidelines
- Branded fonts
- Branded images and icons
- Logos
You can typically find these elements in your brand style guide. Then, you should draft the copy for the flyer. Think about the tone you’ll use. For example, if you’re hosting a craft fair, you might use a fun and creative hook, but a food drive flyer might be more serious.
Regardless of your flyer’s purpose, be sure to include this key information:
- A clear headline
- Brief description
- A specific call to action
- Contact information
- Location or time, if relevant
Less is more, so aim to keep your flyer concise without leaving out this information. Remember, people should be able to understand what your flyer is for with a quick glance. Too much text could keep people from reading and acting on your flyer.
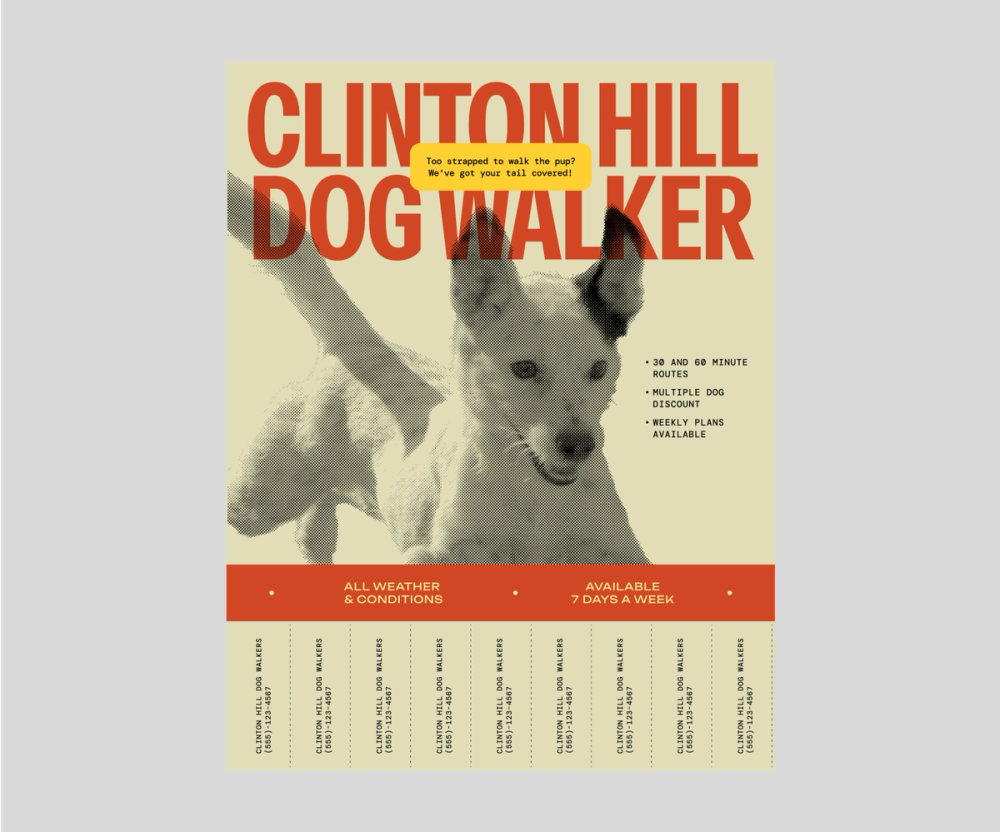
Step 3: Plan your layout and visual hierarchy


Visual hierarchy is when you use the size of design elements to reinforce their importance. Think of your favorite book. The odds are that the title is the largest element on the cover (and maybe the reason you pulled it off the shelf at the bookstore).
Size, layout, and color contrast are all ways to use visual hierarchy and draw readers’ eyes to the most important information on your flyer.
- Size. Vary text size based on importance. Use larger text for key messages like the headline or CTA.
- Layout. Put the most important information where the eye naturally goes. Depending on your design, this could be the upper third or center.
- Order. List contents in priority sequence. For example, the date and time for an event might come before contact information for readers' questions.
- Contrast. Use bold colors of font weights sparingly to guide focus.
Step 4: Select fonts, colors, and images

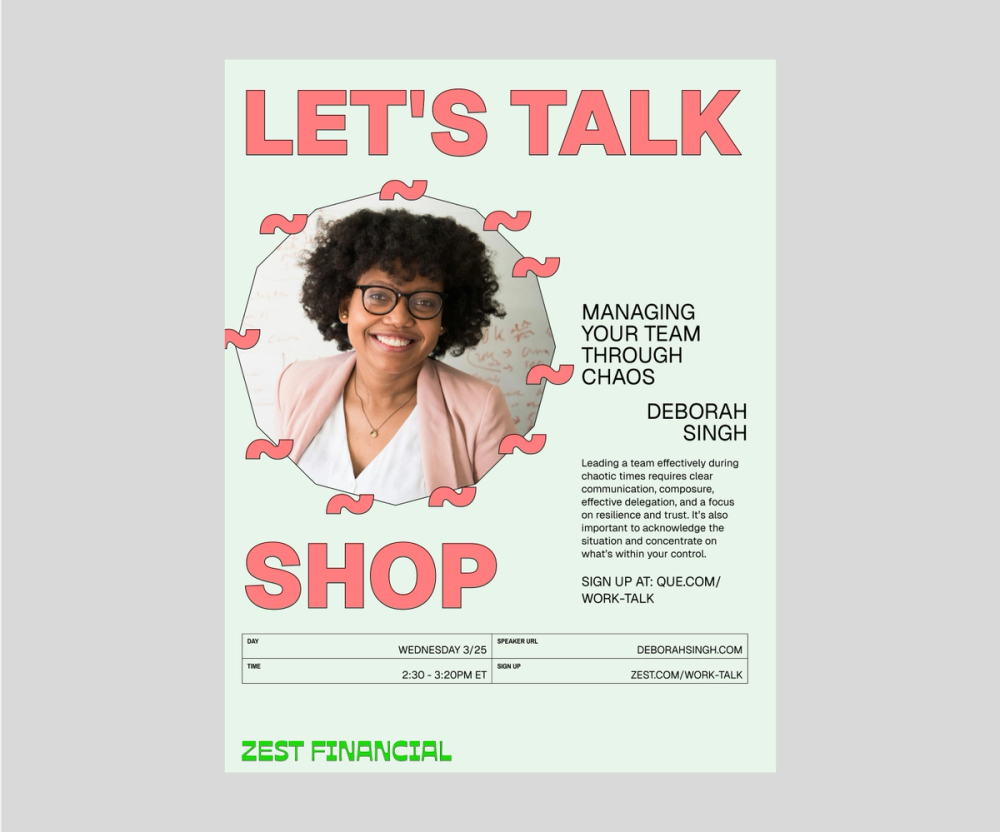
Stick to one or two complementary fonts to balance visual interest and readability. Use a limited color palette that reflects your brand, and make sure text stands out against the background. Choose a harmonious palette for your text, icons, and visual elements.
Pro tip: Use images with colors similar to your color palette or use Figma Draw to illustrate your assets for a polished and cohesive flyer.
Always prioritize quality over quantity. It’s better to have a well-made flyer with no images than one with blurry, low-resolution images.
Step 5: Design and refine

Now the magic happens. After placing your content in a design tool like Figma Buzz, review it with fresh eyes. Does the main message stand out at a glance? If not, adjust text size, placement, or contrast to clarify hierarchy.
Pro tip: Use a color contrast checker to make sure your flyer is accessible and easy to read.
Step 6: Review, proofread, and print
The last step is to review your page thoroughly. Triple-check your text for spelling, grammar, and clarity. Then, ensure correct information like contacts, date, and time. If it’s a digital flyer, verify that any links you’ve included open correctly.
Now it’s time to export and print. If you send out a digital version, PNG and JPG work best. If you’re printing hard copies, opt for PDF. The correct format will ensure your flyer is distributed in the best quality possible.
Pro tip: Print one flyer to test whether everything looks right before mass printing your finished project.
Explore free flyer templates
Ready to bring your flyer to life?
Quick tips for creating an effective flyer
Remember these essential principles to create flyers that capture attention and drive results.
- Keep it simple. Don’t overwhelm your flyer with excess images or information. The design should be simple yet informative.
- Use one clear call to action. Only ask readers to do one thing, like attend an event or join an email list.
- Stick to brand guidelines. Use this opportunity to build brand recognition using branded logos, colors, and fonts.
- Design for your format. When designing flyers, consider how you’ll send them out. For example, digital assets look best with RGB designs, while printed assets look best with CMYK.
- Test readability. Have a friend or coworker take a quick glance at the flyer and ask what it is about. If they don’t know or are confused, revisit how you presented the information.
- Use contrast wisely. Use contrasting color combinations for one or two key elements to emphasize the most important information.
- Start with a flyer template. It’s okay to take the easy route. Templates make it simple to create well-designed and effective flyers.
FAQ
Here are answers to common questions about flyer design that can help streamline your creative process.
What software or tools are best for designing a flyer?
The best flyer design tool will depend on your design skills and budget. Figma Buzz is a powerful tool for creating professional assets like flyers, whether you start from scratch or use a template. It features a simple interface, making it ideal for advanced designers and newbies.
How do I make sure my flyer design reflects my brand identity?
Creating a branded flyer is simple. Use your brand’s color palette, fonts, logo, and branded images to make a flyer that’s cohesive with any other branded assets.
What size and format should I use when designing a flyer?
The right flyer size depends on how you distribute it. Printed flyers should be letter size (8.5 x 11 inches) and exported via a CMYK PDF for best results. For digital distribution, always use RGB colors in a PNG or JPG format and size it based on the social media platform you’ll use to post.
How do I choose the right fonts and colors for my flyer?
There is no “right” font or color to use for a flyer, but a few factors must be considered. If you have style guidelines with dedicated fonts and color palettes, it’s always best to choose from those. Otherwise, be sure to select a font that’s easy to read and colors that contrast well. When in doubt, browse a font library or color palette generator for inspiration.
Design your next flyer with Figma
The right tools can make all the difference when designing a professional and eye-catching flyer. Figma can help. Here’s how:
- Use Figma Design to collaborate with your team and create a professional, custom flyer.
- Simplify production with flyer templates from Figma Buzz, or create your own.
- Align on distribution and strategy via FigJam’s online whiteboard.
Design eye-catching flyers
Explore ready-made templates and customize to suit your event.
Keep reading

What is graphic design?
Learn the basics of how to tell a story with graphic design.

Brochure examples
Discover 32 brochure examples and design templates to bring your brochure style to life.

How to make a creative brochure
Learn different ways to fold a brochure, best practices for brochure design, and more.