K–12 basics

Share K–12 basics
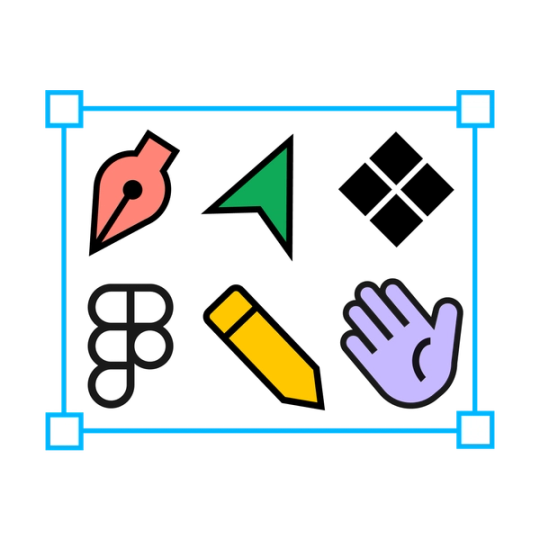
K-12 Figma Design Basics
Explore more from
Team productivity
Teach, share, and collaborate in FigJam
Activities, lessons, and file sharing—all in one interactive classroom space.
K-12 Figma Design Basics

Bring design to life in your classroom
This learning hub gives educators and students a hands-on way to build real-world design skills with Figma. Whether you’re shaping icons or prototyping apps, each module introduces tools and techniques used by today’s professional design and engineering teams.
With short video tutorials and ready-to-use Figma files, you can follow along step-by-step—creating everything from websites to digital posters. Along the way, you’ll learn how to express ideas visually and build designs that work across screens.
These skills build on one another, so you can review them in order, but also feel free to dive into a specific topic, or pick a one-off activity that fits your classroom needs.
Start exploring below and see what your students can make with Figma Design!
Introduction
1. Using frames
Everything begins with a frame
In Figma Design, frames are containers that hold shapes, text, images and even other frames. Think of them as the building blocks of your design work. They help organize your work and keep your designs flexible across screen sizes.
Frames also unlock tools like layout grids and auto layout, which make it easier to create responsive, editable designs. You can make a digital flyer or a class newsletter that scrolls like a real webpage starting with just a frame.
In this lesson, you'll learn how to use frames to organize your designs, apply constraints, and add helpful layout features. You'll also explore how to choose the right frame sizes for different types of digital products, like mobile apps and websites.
📁 Companion file: Open the activity file to follow along with the video below.
🎥 Watch the tutorial and start building your own project in Figma Design.
2. Using shapes
Build bold designs, one shape at a time
In Figma Design, shapes are scalable building blocks for everything from icons to logos. With tools like rectangles, ellipses, stars, and polygons, you can create crisp vector graphics that stay sharp at any size.
Unlike pixel-based images such as JPEGs or PNGs, vector-based shapes in Figma don’t lose quality when resized. That means your designs stay clean and professional, whether you’re creating a logo for a school project or a graphic for a classroom app.
In this lesson, we will use shapes to build simple vector designs and two geometric illustrations.
📁 Companion file: Open the activity file to follow along with the video below.
🎥 Watch the tutorial to try the shape tools for yourself in Figma Design.
3. Typography basics
Bring clarity and personality to your designs with type
Typography is the practice of choosing and arranging letters and words in a way that makes them easy to read and visually appealing. This sets the tone, builds hierarchy, and guides people through your work. How you style text, choose fonts, and use type to create visual rhythm in your layouts are all elements of Typography.
By using Figma’s typography tools, you can organize text in a way that enhances both readability and visual impact of a class poster, social graphic for your club, or digital magazine.
In this lesson, you'll create a social media post that uses typography to communicate a clear message.
📁 Companion file: Open the activity file to follow along with the video below.
🎥 Watch the tutorial to see how to use type effectively in Figma Design.
Illustrations
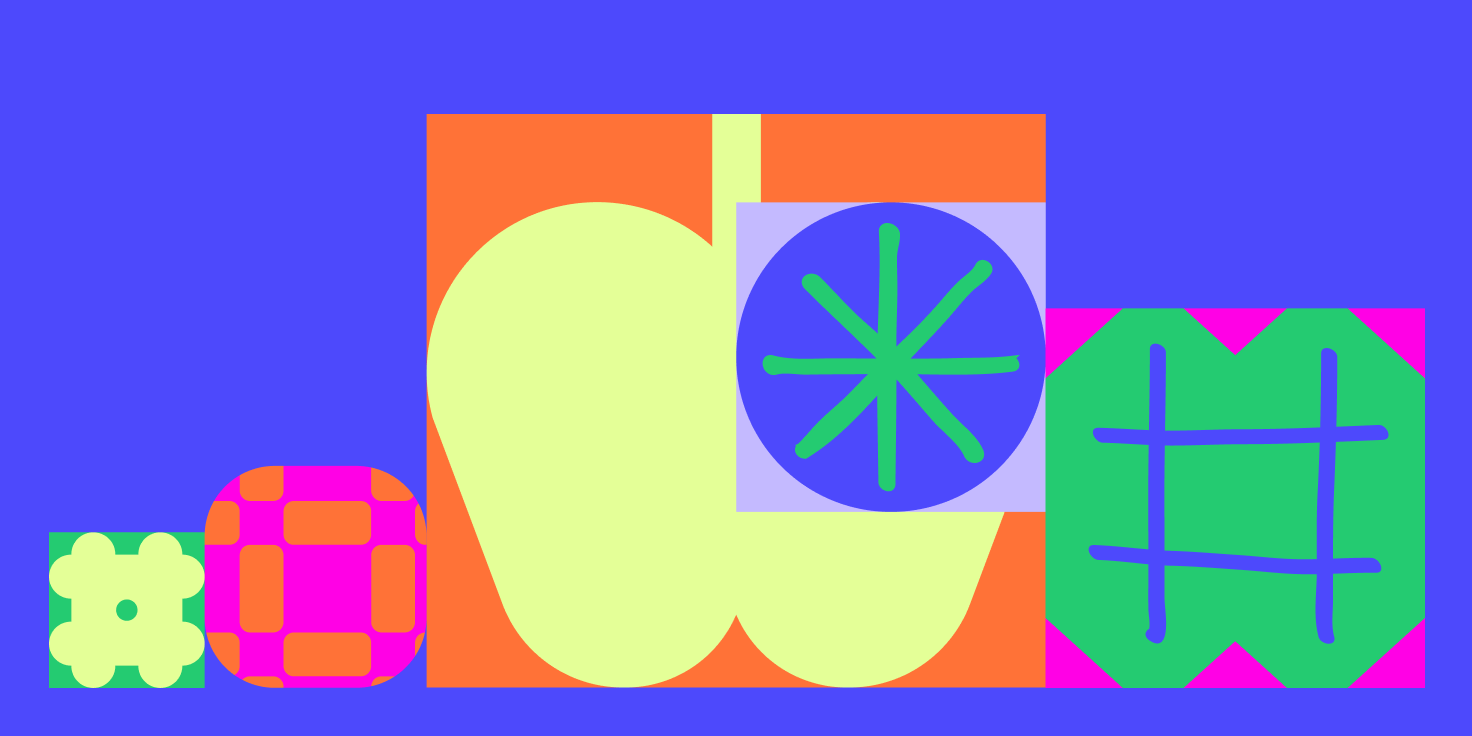
1. Drawing with geometry
Combine shapes to create something new
The capabilities of shapes are enhanced by tools that let you cut, merge, and remix your designs. Features like boolean operations, shape-based image fills, and vector editing are powerful ways to create custom visuals faster.
You can use these techniques to build a classroom badge system, design avatars for a game, or craft custom icons for a digital portfolio. With just a few clicks, students can turn simple shapes into detailed designs.
In this lesson, you will design a series of custom icons using boolean operations and images fills.
📁 Companion file: Open the activity file to follow along with the video below.
🎥 Watch the tutorial to learn how to create unique visuals with shapes in Figma.
2. Drawing with the pen tool
Add personality with every point
The Pen tool in Figma lets students draw custom shapes and lines by adding points and adjusting curves. It’s useful for creating detailed drawings, icons, and other creative design elements with precision.
Students can draw a character for a comic strip, trace a historical landmark, or design original icons for a class website. The Pen tool encourages creativity while helping students understand how digital drawings are built.
In this lesson, you'll use the Pen tool to create a set of icons that look like they belong together. You'll focus on keeping the shapes consistent and evenly spaced, while learning how to control curves and lines to bring your ideas to life.
📁 Companion file: Open the activity file to follow along with the video below.
🎥 Watch the tutorial and start drawing with the Pen tool in Figma Design.
3. Drawing with vector brushes and effects
Add artistic flair to your designs
Figma Draw is a set of illustration tools built right into the Figma Design editor. With features like vector brushes, texture fills, and dynamic strokes, you can create expressive, hand-drawn visuals that stand out. As soon as you switch to Figma Draw, the toolbar and sidebars transform giving you access to a whole new set of features focused on freeform drawing and artistic control.
Figma Draw tools make it easy to go beyond clean lines and geometric shapes. They add emotion, movement, and texture to your digital artwork. Whether you're sketching a hand-drawn illustration for a classroom storybook, or adding blur effects to a club website, Figma Draw helps you tell a more visually creative story.
In this lesson, you'll experiment with different brush types, add textures to your strokes, and play with dynamic line styles that mimic hand-drawn art. You’ll wrap up the activity by creating a custom logo that combines everything you've learned to give your design a unique, personal touch.
📁 Companion file: Open the activity file to follow along with the video below.
🎥 Watch the tutorial and explore the creative tools in Figma Draw.
Animations
1. Building simple animations
Learn the basics of animation in Figma
Smart Animate is a feature of Figma that makes it easy to add smooth transitions between frames to create simple animations—no code needed! It detects matching layers and animates changes like size, position, rotation, and style.
Students can use Smart Animate to create an animated intro screen for a group project, show how a plant grows in a science diagram, or animate a logo for a club app. These motion-driven projects help connect visual design with storytelling and real-world function.
In this lesson, you'll create three simple animations. The first will scale a shape to show a sense of growth. The second will shift a shape’s position to create a feeling of motion. The third will change style properties, such as color and corner radius, to visually suggest ideas like collaboration or togetherness.
📁 Companion file: Open the activity file to follow along with the video below.
🎥 Watch the tutorial and learn how to use Smart Animate in Figma Design.
2. Making loading animations
Bring your designs to life with movement
Figma’s Smart Animate feature adds polish and interactivity to your design prototypes. Loading-style animations are a fun way to explore timing, movement, and user interaction in a hands-on way.
Use these techniques to build a loading screen for your school's website, an animated graphic for a digital storytelling project, or a hover effect on a digital portfolio. These subtle design details give student projects a more professional, interactive feel.
In this module you’ll build two loading animations. First, you’ll design a looping animation where four colorful elements smoothly merge at the center, forming a seamless, continuous motion. Then, you will build a hover-triggered animation where a circle grows in size and changes color, giving a polished, interactive feel.
📂 Companion file: Open the activity file to follow along with the video below.
🎥 Watch the tutorial and learn how to build loading animations.
Prototypes
1. Prototyping Level 1
Learn how to build and test simple digital experiences
Figma’s prototyping features allow you to create realistic flows that explore how a user may interact with your designs. This is how real digital products are designed and a fun way to connect creativity with communication.
In his activity you’ll create a scrollable Bio Page that acts like a real webpage, complete with clickable elements and smooth layout behavior. You’ll combine text, shapes, images, and color to share a bit about yourself, and use Auto Layout to keep everything organized and looking polished.
📂 Companion file: Open the activity file to follow along with the video below.
🎥 Watch the tutorial and learn how to build your first prototype in Figma.
2. Prototyping Level 2
Create connected, dynamic experiences through prototyping
In digital design, it's not just about how something looks but also how it works. Prototyping helps you think like a professional product designer by turning static screens into interactive experiences. While scrolling and clicking are basic interactions, Figma gives you advanced tools to add animation, navigation, and interactivity so your designs respond like real digital products.
This activity builds on Prototyping in Figma Design Level 1 by animating transitions between frames, creating navigation flows, and adding actions that make your design feel like a real app.
In this activity you’ll design a photo gallery experience with clickable images and smooth animation, as well as set up a back button to return to the main screen. It’s a great way to explore how real-world apps guide users and create engaging moments through motion.
📂 Companion file: Open the activity file to follow along with the video below.
🎥 Watch the tutorial to learn how to bring your designs to life with advanced prototyping tools in Figma.
Bring Figma and FigJam to your students
Figma and Google are teaming up to help students transform ideas into reality by bringing Figma and FigJam to schools around the world—for free