How to use AI to create a website
Share How to use AI to create a website
Explore more from
Building with AI


Building a website used to mean late nights, complicated code, and a whole lot of back and forth. You’d need a developer for the backend, a designer for the visuals, and someone else entirely to manage the content. Fast forward to today, and things look very different, thanks to no-code and low-code AI tools.
According to Figma’s 2025 AI report, 85% of designers and developers believe AI is essential to their future success. They’re not just guessing. It’s already transforming how websites are planned, designed, and built.
Even without HTML experience, today, anyone can use AI to launch a beautiful, functional site. AI website builders do the heavy lifting, from generating layouts to writing content, all based on a simple prompt. Instead of starting from scratch, teams can move directly into design decisions, user experience, and brand strategy—all without leaving the design canvas.
Read on to learn:
- What the Figma AI website builder can do
- How to build a website with Figma’s AI tools
- Ways to use AI to create a website
- Benefits and best practices for using AI in web design
What is Figma’s AI website builder?
Figma’s AI website builder gives you a fast way to turn an idea into a working layout, and directly inside your design file. Just type a short prompt—like “e-commerce store for vintage guitars” or “recipe app wireframe”—and Figma instantly generates a complete, editable structure or wireframe on your canvas.
Because it’s built into the same workspace you already use, there’s no need to bounce between tools or start with a blank frame. You still keep complete control over every part of the design—colors, typography, spacing, and brand elements—but the structural work happens in seconds. Instead of skipping the creative process, you simply skip the time-intensive setup.
The builder also includes AI-assisted features that help with rewriting copy, adjusting layout proportions, and even generating images to block out a design. Everything stays editable, so you can keep refining as you go. For teams moving quickly or interested in exploring multiple directions, this is a great way to get more done in less time and without losing fidelity or flexibility.
How to build a website with Figma’s AI website builder
With Figma’s AI website builder, the process of building an interactive, responsive website starts with a prompt. From there, the builder generates a full website layout that’s ready to edit. It takes care of the structural setup so you can move right into editing, styling, and refining. Each part of the design stays editable in Figma. You can update type, swap images, apply your color system, and adjust the layout to match your content.
The steps below show how to go from prompt to polished layout.
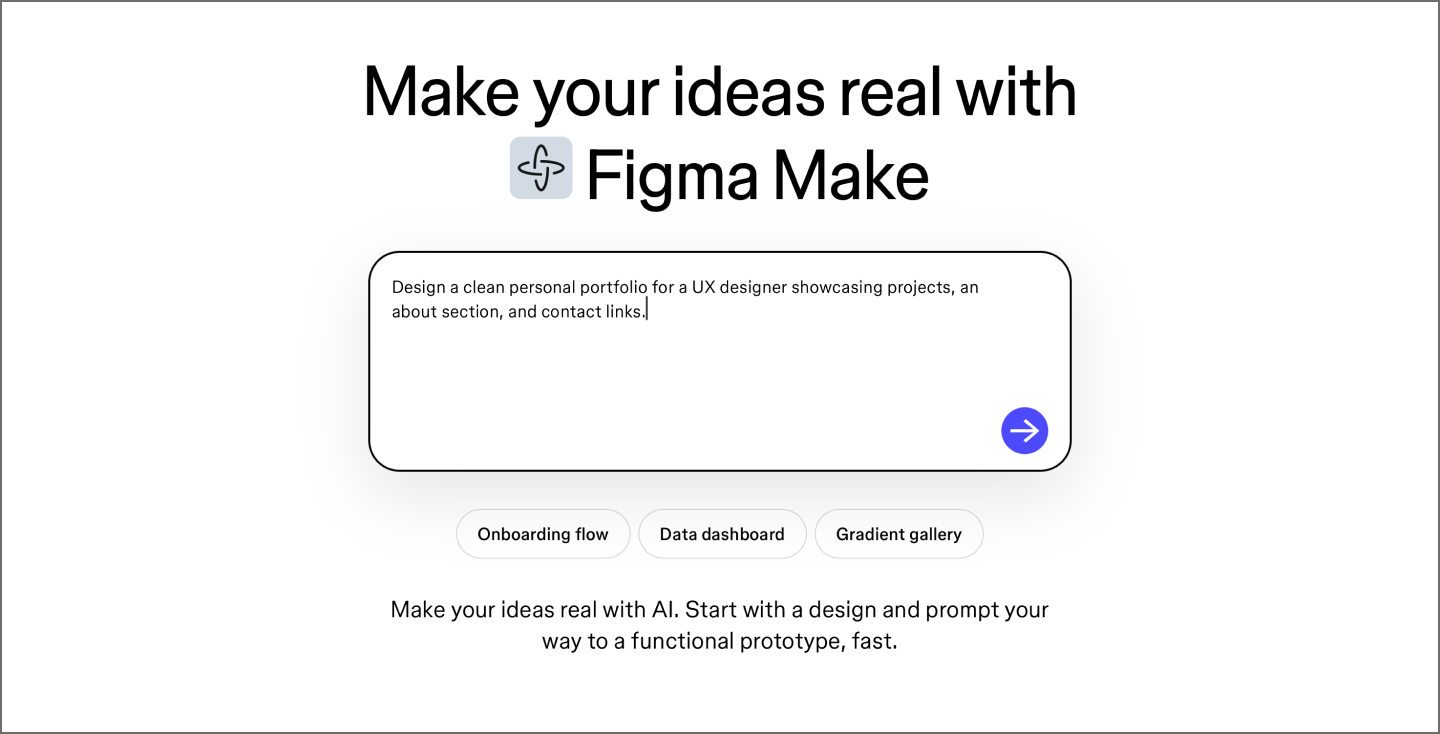
Step 1: Input your prompt into the builder
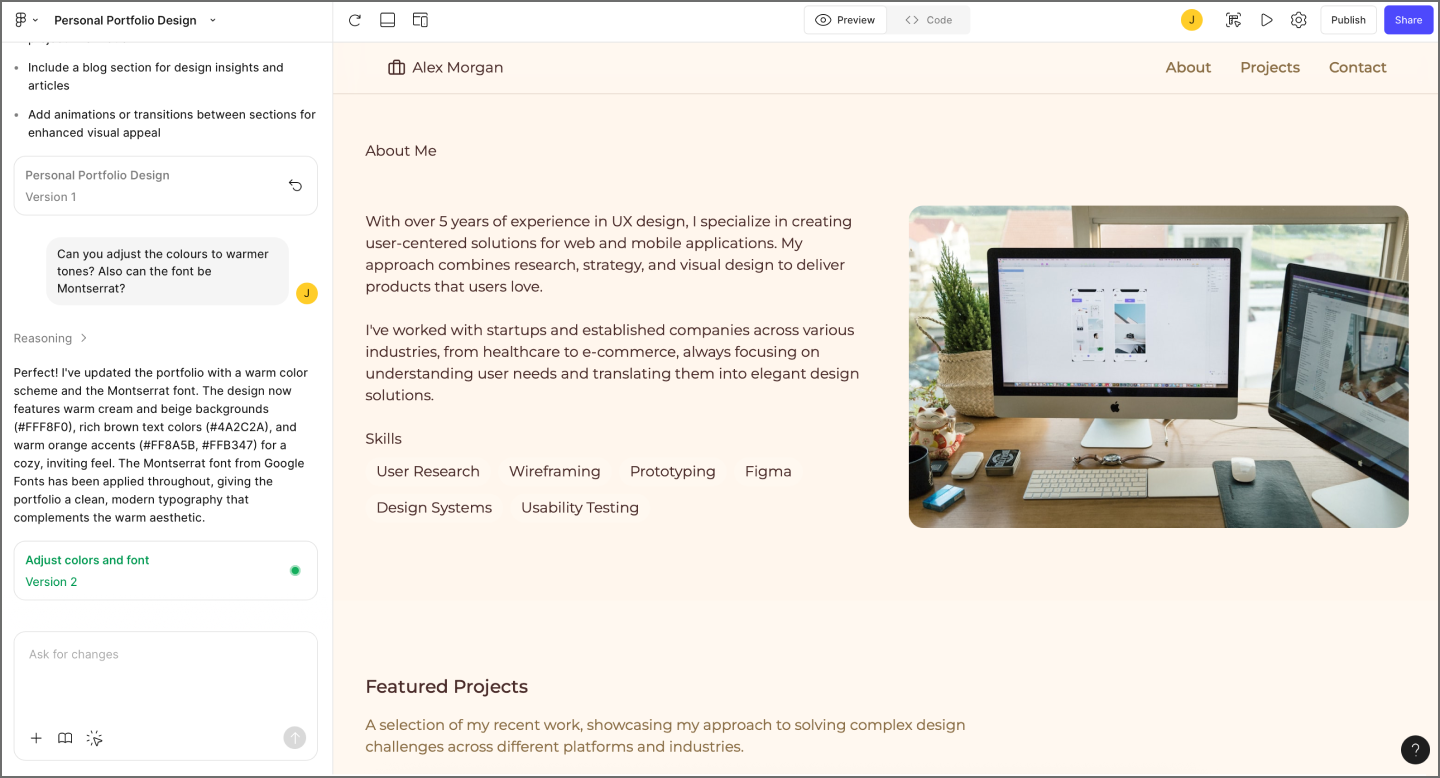
Enter a clear description of what you want to create. You can start with something simple like “marketing site for a productivity app.” Or enter something more descriptive, like a “three-page portfolio site for a UX designer with dark mode and case study sections.” The AI builder parses the prompt to generate a layout that fits the intent.
Don’t worry about writing the perfect prompt. Start with a short phrase and see where that takes you. If the result feels off, you can always prompt again and re-run it. The tool is built for iteration, so have fun with it, especially early in the process.

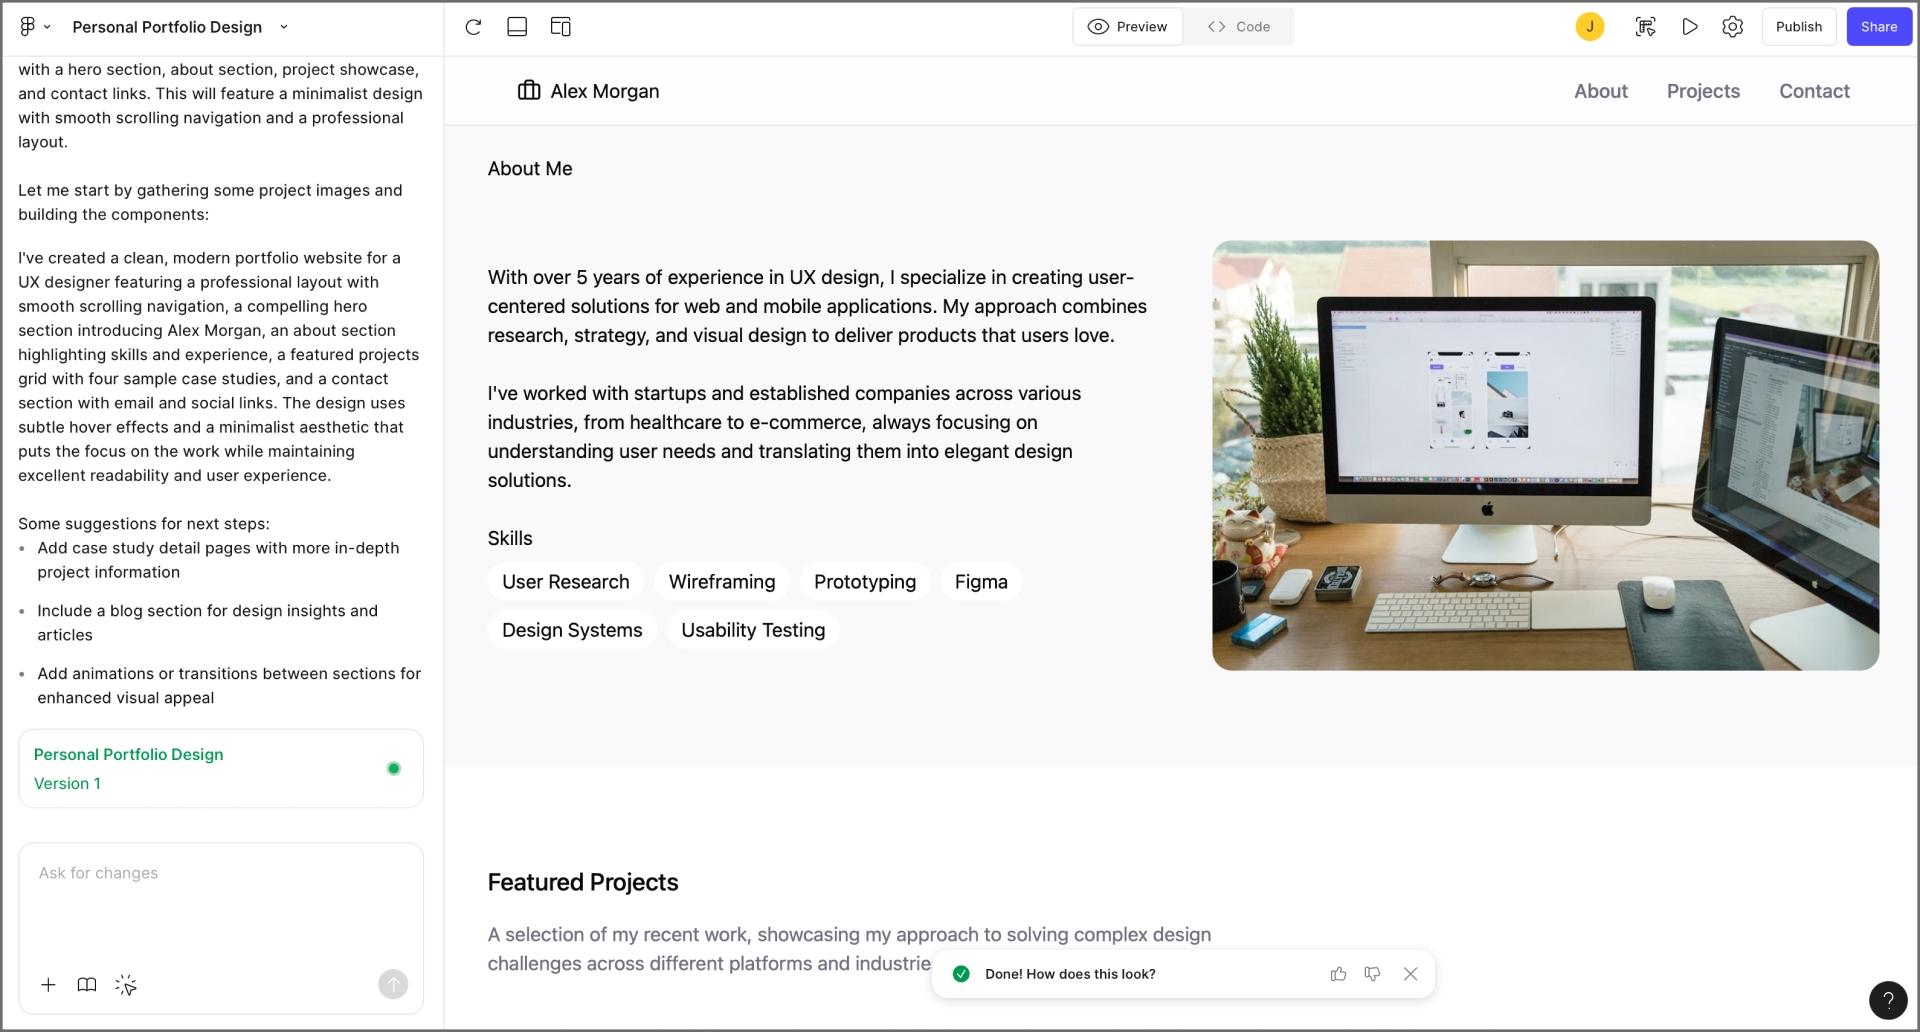
Step 2: Generate the layout
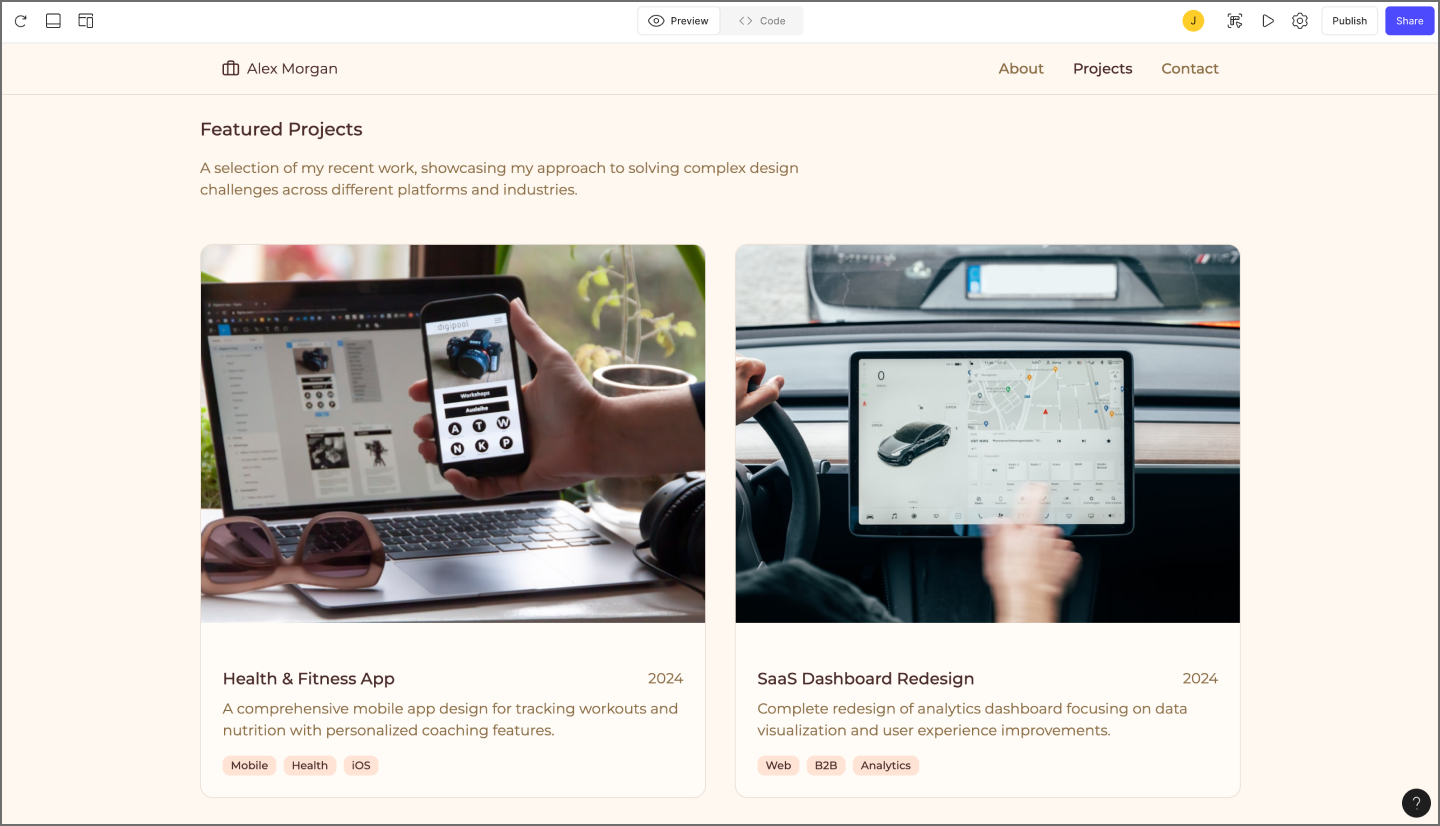
Once you enter your prompt, watch Figma’s AI builder create a full-page website layout directly on the canvas. It places headers, images, buttons, and sections based on the type of site you described. The structure follows familiar patterns, like hero at the top and call-to-action and footer at the end, so it’s usable right away.
If your first input didn’t generate the results you imagined, keep prompting. It’s fast enough to try multiple directions, so you can explore idea after idea, until the direction feels good.
Looking through AI website examples can help you see how different prompts work for certain layouts.

Step 3: Customize the design
The generated layout and structure give you a head start, but now it’s about shaping it to fit your product, your users, and your brand. Replace placeholder text with real copy. Drop in your own imagery or assets from the team library. If something doesn’t fit, delete it. If something’s missing, build it out. The AI gives you a rough shape, but you decide how it looks, feels, and communicates.
This is also a great time to check alignment with existing components. Pull in buttons, nav bars, or content modules you’ve already defined. Test a few variations side by side. Since you’re working inside Figma, everything stays flexible.

Step 4: Test and adjust
With the layout customized, now you need to make sure it actually works. Preview your website to see how it behaves at different breakpoints. Scan for anything that breaks and look for spots that feel cramped or go off balance, for mobile layouts especially. Never assume that the AI nailed it.
This step is where small issues can surface: font sizes that don’t scale well, buttons that look too crowded, sections that read fine on desktop but stack awkwardly on smaller screens.
Treat this part like you would any in-progress design. Pull in someone else for a quick gut check. Share a preview link and collect feedback before calling it final. It’s still easy enough to make changes without losing momentum.

Need more inspo?
Explore website templates from the Figma Community.
Four ways you can use AI when building a website
AI helps more than just layout generation. Once the structure is in place, it can streamline nearly every part of building and managing your website. Here are four ways teams are using AI to speed things up without losing quality.
- Writing and refining content. AI can help you draft copy for your homepage, product descriptions, blog posts, and calls to action. It ensures your messaging is clear, engaging, and tailored to your audience.
- Generating design variations. From generating layouts to suggesting color palettes and typography, AI can create visually appealing designs quickly while giving you a solid foundation to customize.
- Translating designs into code. AI tools can automatically translate designs into clean, functional code. This speeds up website development and allows even non-coders to bring their ideas to life.
- Managing and updating Websites. AI can help with ongoing site updates, SEO optimization, and analytics insights, keeping your site performing optimally with minimal effort.
Benefits of using AI for website creation
AI tools are changing how websites are built or redesigned, making the process faster, simpler, and more efficient. With the right setup, teams move faster from idea to live layout. Here are the main benefits of using AI to create a site:
- Faster launch timelines. AI can generate layouts, write initial copy, and set up responsive pages quickly.
- No coding required. You don’t need HTML or developer skills to create a fully functional, professional website.
- Lower overhead and cost. AI reduces manual work and development costs, making it easy to scale your website as your project grows.
- Built-in optimization and accessibility. Many AI tools automatically handle best practices like responsive design, SEO-friendly layouts, and accessibility compliance.
Best practices for AI website building
AI can speed up website creation, but following a few best practices ensures your site stays unique, accurate, and on-brand. Here’s how to get the most out of AI tools:
- Start with context, not keywords. The quality of the first draft depends on what goes into the prompt. Instead of listing features or buzzwords, describe the purpose of the site, who it’s for, and what matters most on the page. A little detail goes further than stacking keywords.
- Treat AI-generated content as a first draft. Use the generated layout to move faster, not to skip design. Review spacing, hierarchy, contrast, and interaction states like you would with any other file. Replace placeholder copy early—it shapes the rest of the content flow.
- Customize visuals and content early. Swapping images and updating colors late in the process creates more rework. Get brand elements in place quickly so you’re designing in the right context.
- Stick to design systems when possible. Apply existing styles and components as soon as the layout lands on the canvas. This keeps the file clean and consistent, especially if multiple people will be working on it.
- Keep a human in the loop. AI can surface options, suggest structure, and fill in blanks, but only people can dial in tone, pacing, or visual tension. Small decisions add up. Use the AI for ideation, but never for the final call.
Build your new website with Figma
AI can help you move faster without giving up control. With the right prompt, you can generate a full layout, customize every detail, and get to a working design faster than ever—all without leaving your Figma Design file. Here’s how you can get started:
- Explore the Figma AI website builder to generate layouts, copy, and fully editable designs instantly.
- Try Figma Make to turn your AI-generated designs into interactive prototypes or ready-to-share projects.
- Use Figma design systems to keep components, colors, and typography consistent across your website.
Ready to build your website?
Create responsive websites and bring your dream site to life with Figma Make.