The three Cs of Figma: A beginner’s guide to success


I spend a lot of my time helping others learn the basics of Figma. Here’s how I approached it, what I would do differently now, and the framework you can use to get started today.
Share The three Cs of Figma: A beginner’s guide to success
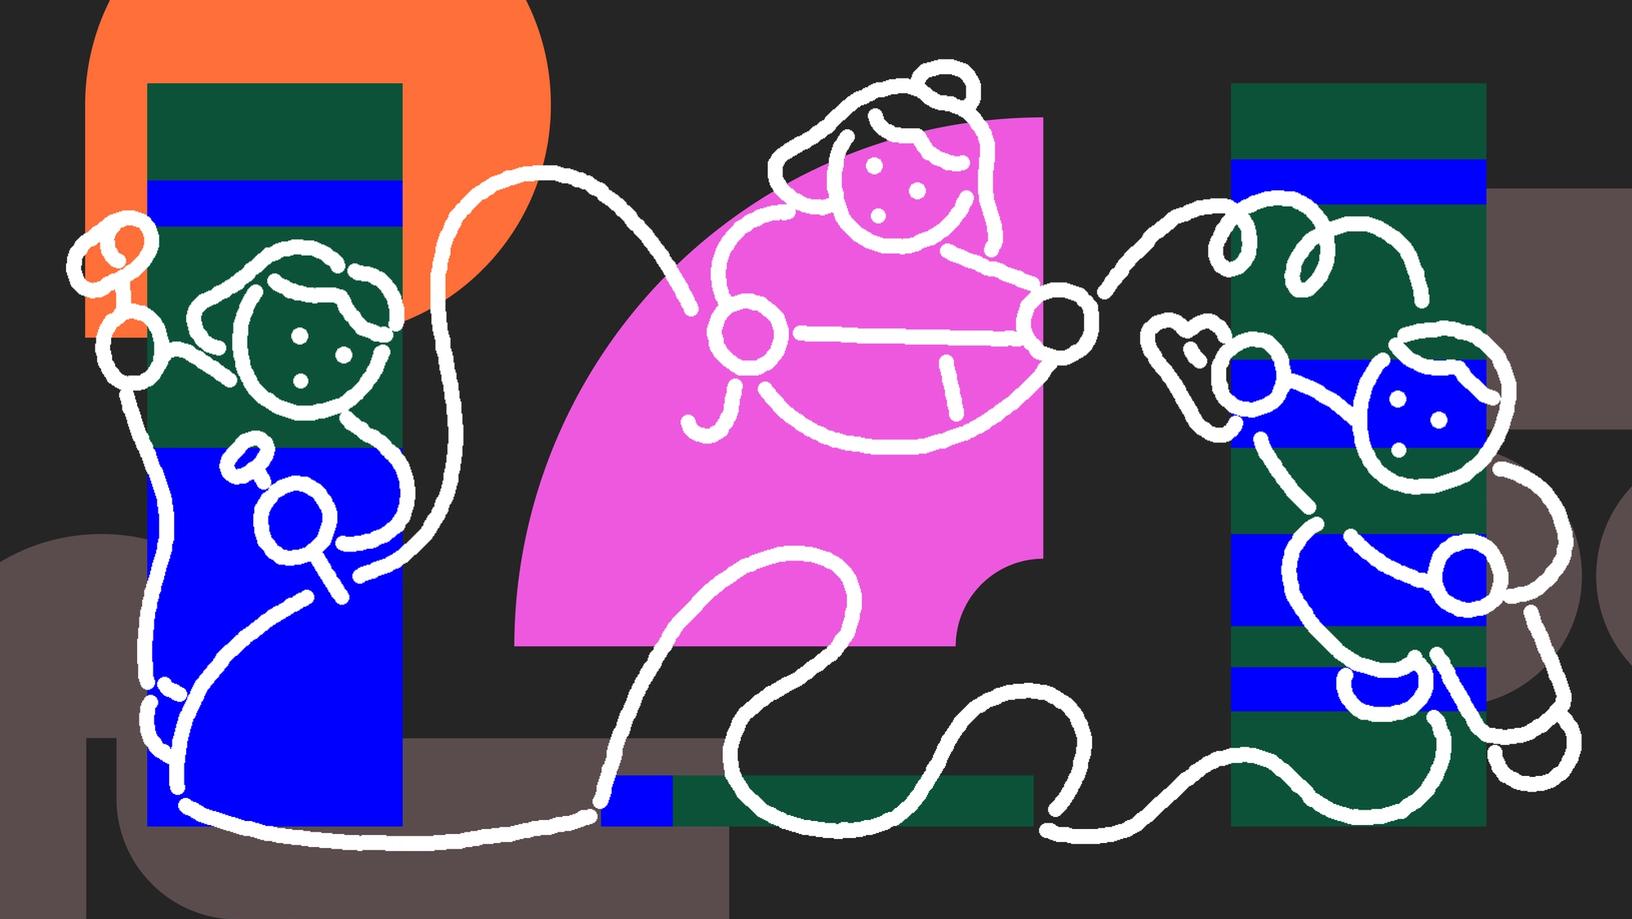
Hero illustration by Thomas Colligan


At Figma, designer advocates support the sales, marketing, and product teams through hosting events, creating educational resources, and engaging with the community. Check out Clara Ujiie’s community file to see a day in the life of a designer advocate.
It can be daunting to be a beginner. Before joining Figma as a designer advocate two years ago, I had heard a lot of buzz about the tool—not just about its capabilities, but also how it feels to work in a collaborative space. I was curious and excited to start a new role, and, to be honest, a bit nervous: After working with more siloed tools, would a shared file feel invasive? To my surprise, being able to riff on my coworkers’ designs and ideate in real time has become my favorite part of working in Figma.
One of the core responsibilities of my role as a designer advocate is to onboard teams to Figma and help them see the magic of “multiplayer,” as we call it. In doing so, I myself have learned from the experience and collected invaluable resources. Most importantly, I see how I would have changed my approach when I first started out. Instead of focusing on learning specific features, I would prioritize understanding different focus areas, which I call the three Cs of Figma: creation, customization, and collaboration. Here’s how learning the three Cs can help you build up the basics and pick up steam.
Establishing goals, timeline, and mindset
Before diving in, it’s crucial to set clear intentions and define milestones. This approach helps ground you in what can sometimes feel like an ambiguous learning space. Whether you’re a designer, developer, product manager, or educator, having a clear sense of where to start and what features or tutorials to prioritize will point you down the most efficient path.
You may already have these in mind; you just need to write them down and let them guide you in the right direction. All the guides in the world, however, won’t substitute for having the right mindset. It’s all too easy to feel overwhelmed or like you’re not making headway quickly enough, which can sabotage your best efforts. Here’s an example of goals, timeline, and mindset based on my own onboarding experience:
Goals:
- Learn the basics of Figma and other relevant tools for your design process.
- Become an efficient and collaborative teammate.
Timeline:
- In 30 days, understand basic tooling, collaborative processes, and good file hygiene and organization.
- In 60 days, pilot a few projects to test and identify gaps in your knowledge.
- In 90 days, introduce some advanced features to your workflows.
Mindset:
- Learn by doing. Practice by making things, breaking things, remaking things, and hitting buttons until you see what works.
- Share and seek help. Sharing your work can make you feel vulnerable, but asking for help is a superpower. Whether on Slack, social media, or the Figma Community Forum, people love to help—and chances are that by asking a question, you’re helping others with the same problem as well.
- Take breaks when you need them. There’s always a learning curve when it comes to new tools, and it takes time for new processes to feel natural.
Introducing the three Cs
When I learned Figma, I focused on mastering specific features, obsessing over every aspect of auto layout, then every aspect of prototyping, for example. In onboarding new users, I’ve learned that it’s far more effective to group features together and build up skills and understanding based on the three Cs:
- Creation: Learn how to create a basic design element.
- Customization: Use more advanced features to make that element more flexible for different use cases.
- Collaboration: Share that work with your teammates.
Think of each stage as rungs on a ladder climbing toward proficiency with the Figma editor. By the end, you’ll be a collaborator, providing your teammates with the components and documentation they need to use those designs in their own files. Before you get to the top, however, you need to learn how to create and then customize that element. Each new set of skills puts you within reach of the next.
Our product education and advocacy teams create guides and tutorials across a variety of formats. The Help Center provides detailed explanations of features, and our YouTube channel offers a mix of tutorials, livestream recordings, and feature launch videos. We also host multiple virtual events every month.
Putting it into practice
Let’s see how the ladder breaks down if you were a designer setting out to make a button and, eventually, a button set. By crafting a button (creation), turning it into a component (customization), and publishing it for others to use (collaboration), you’ll get a broad sense of how the tool works and how it will plug into your workflows. Follow along in the playground file below to try your hand at each step:

Use the three Cs of Figma to build up your skills in this playground file.
Step 1: Creation
In this step, you’re getting acquainted with the editor, learning how to navigate the canvas, and using basic tools to create a button element that is flexible enough for different uses.
- Add a frame to your canvas for a button, and add a text label inside.
- Add auto layout to your button, and adjust the padding in the design panel.
- Create styles for the color and font properties used within the button.

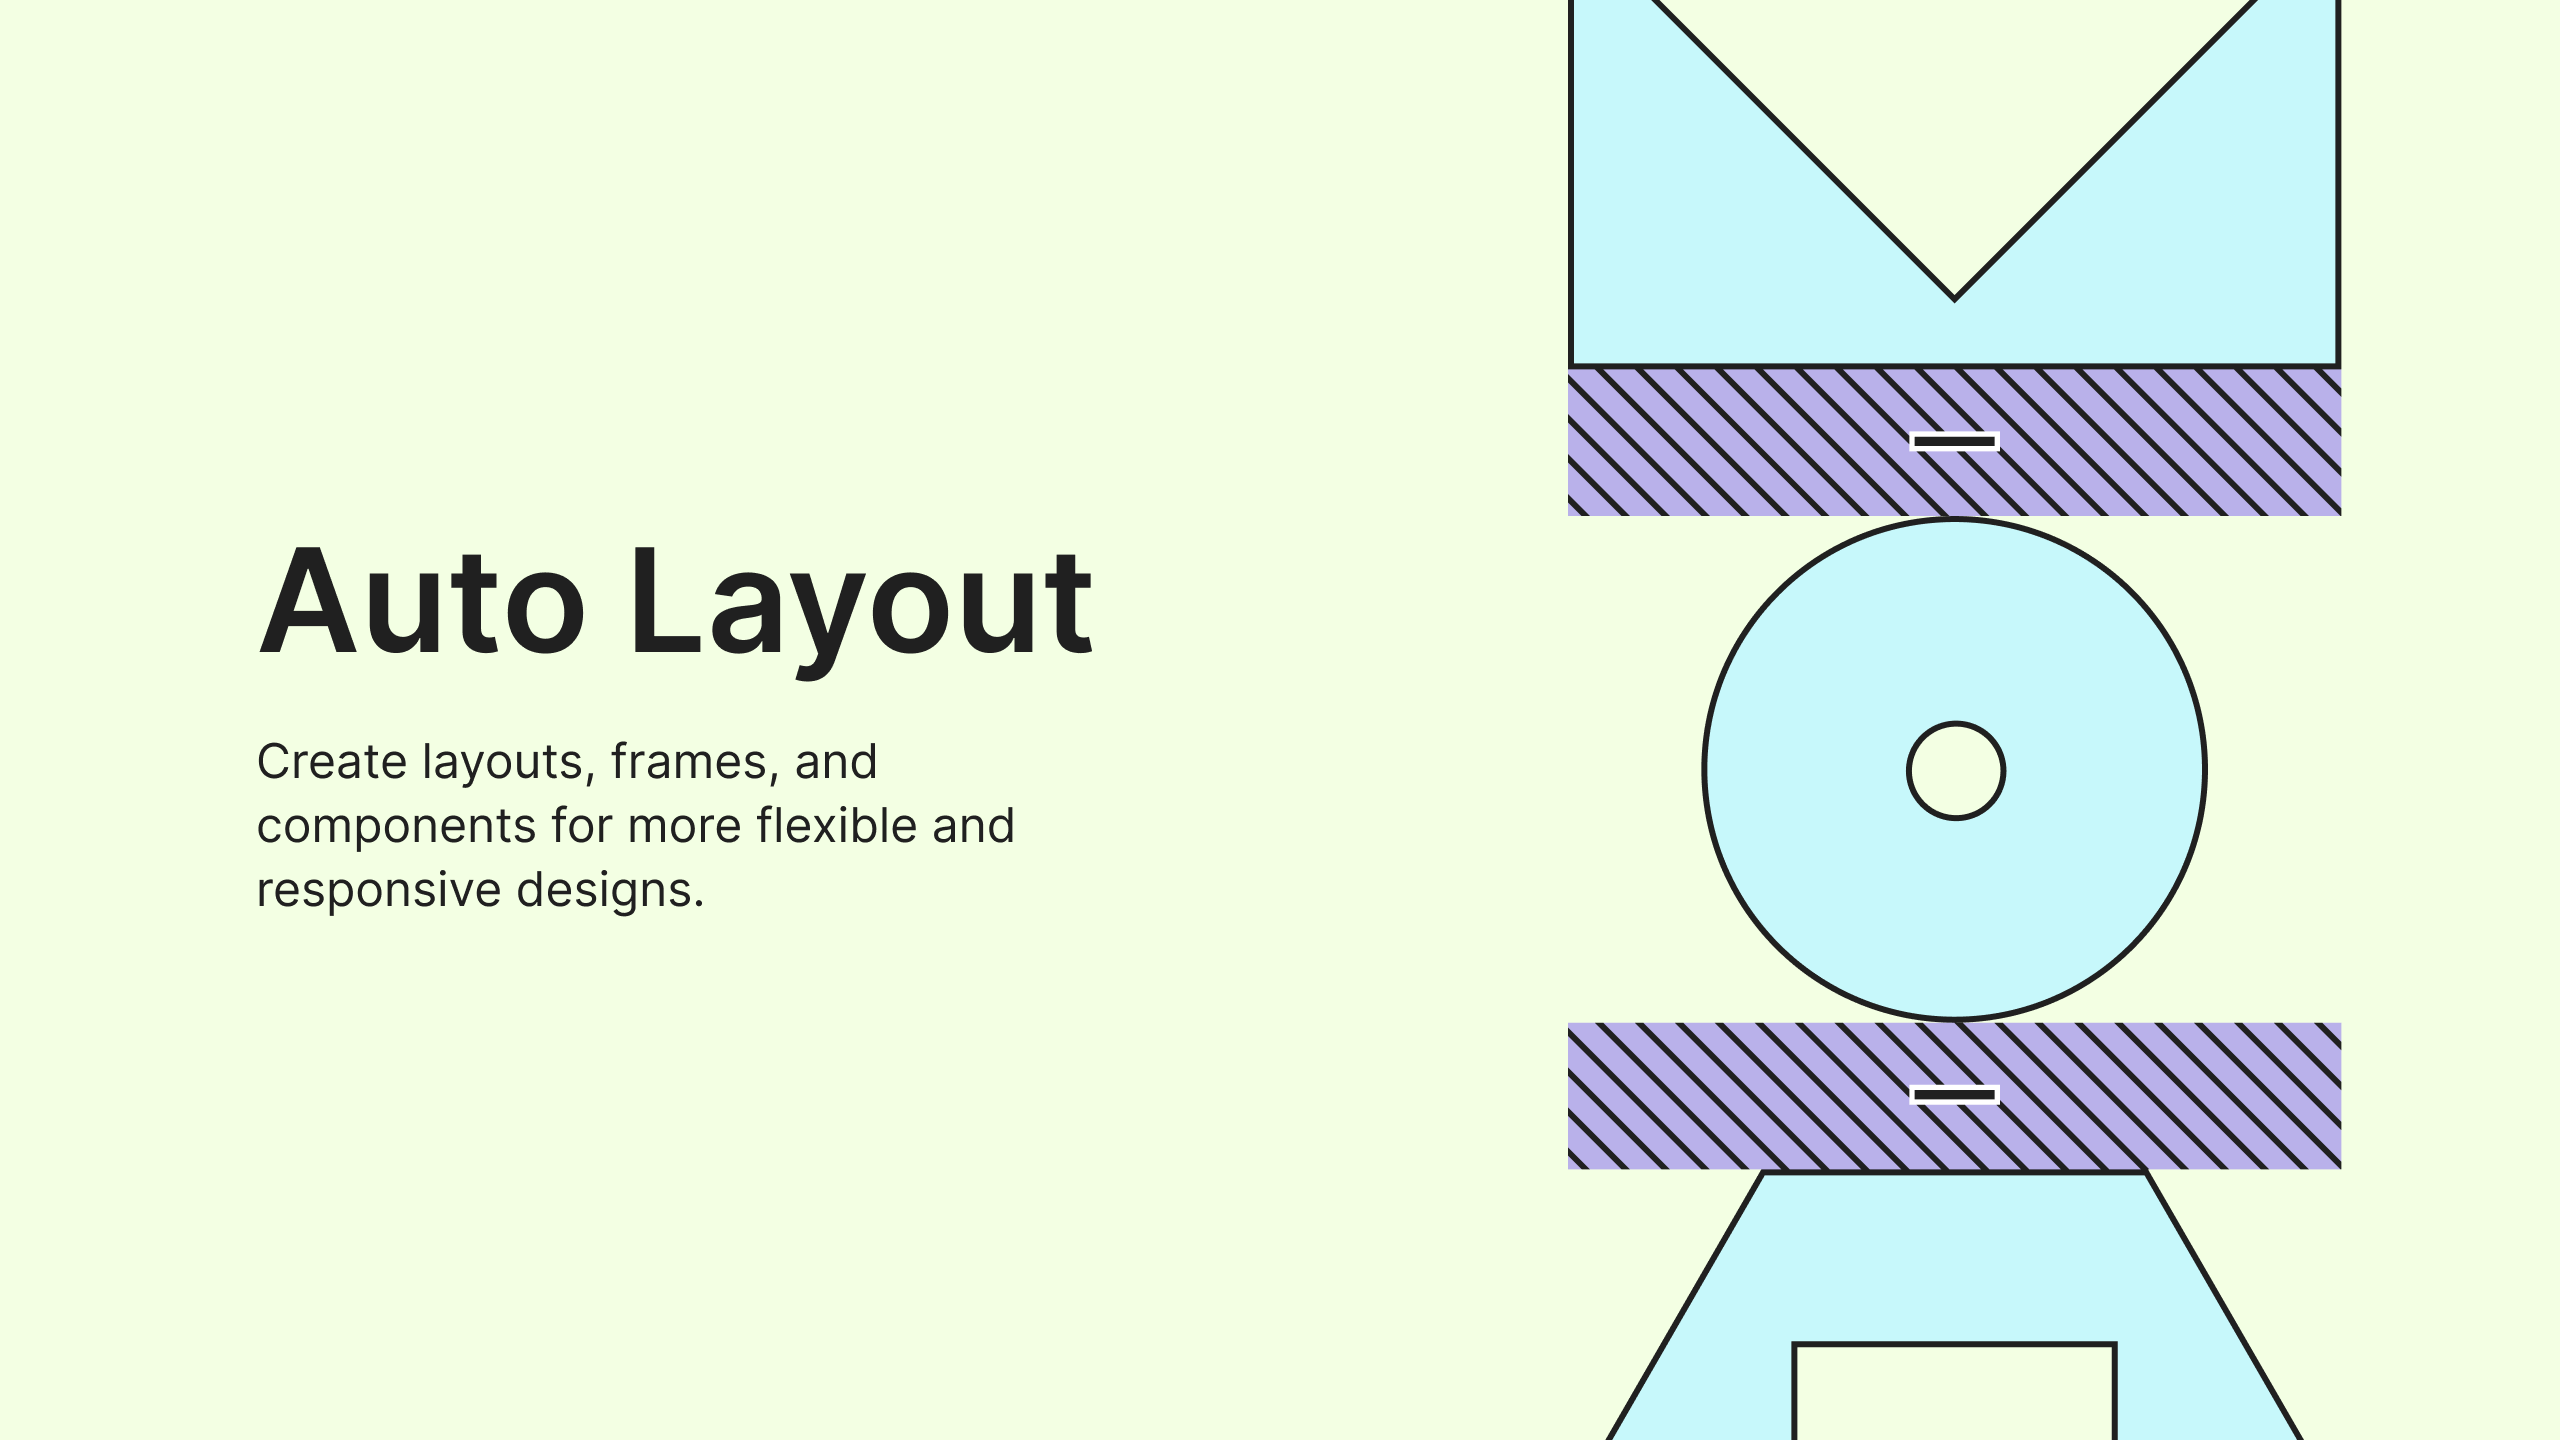
This auto layout playground file uses simple examples to show you how to apply it, how to resize properties, and other advanced settings.
Step 2: Customization
Take your button to the next level. At this stage, you’re digging into icon usage and interaction states to modify your button.
- Add an icon from the UI kits in the assets panel to your button.
- Make your button reusable by turning it into your first component.
- Create hover and disabled button state variants.

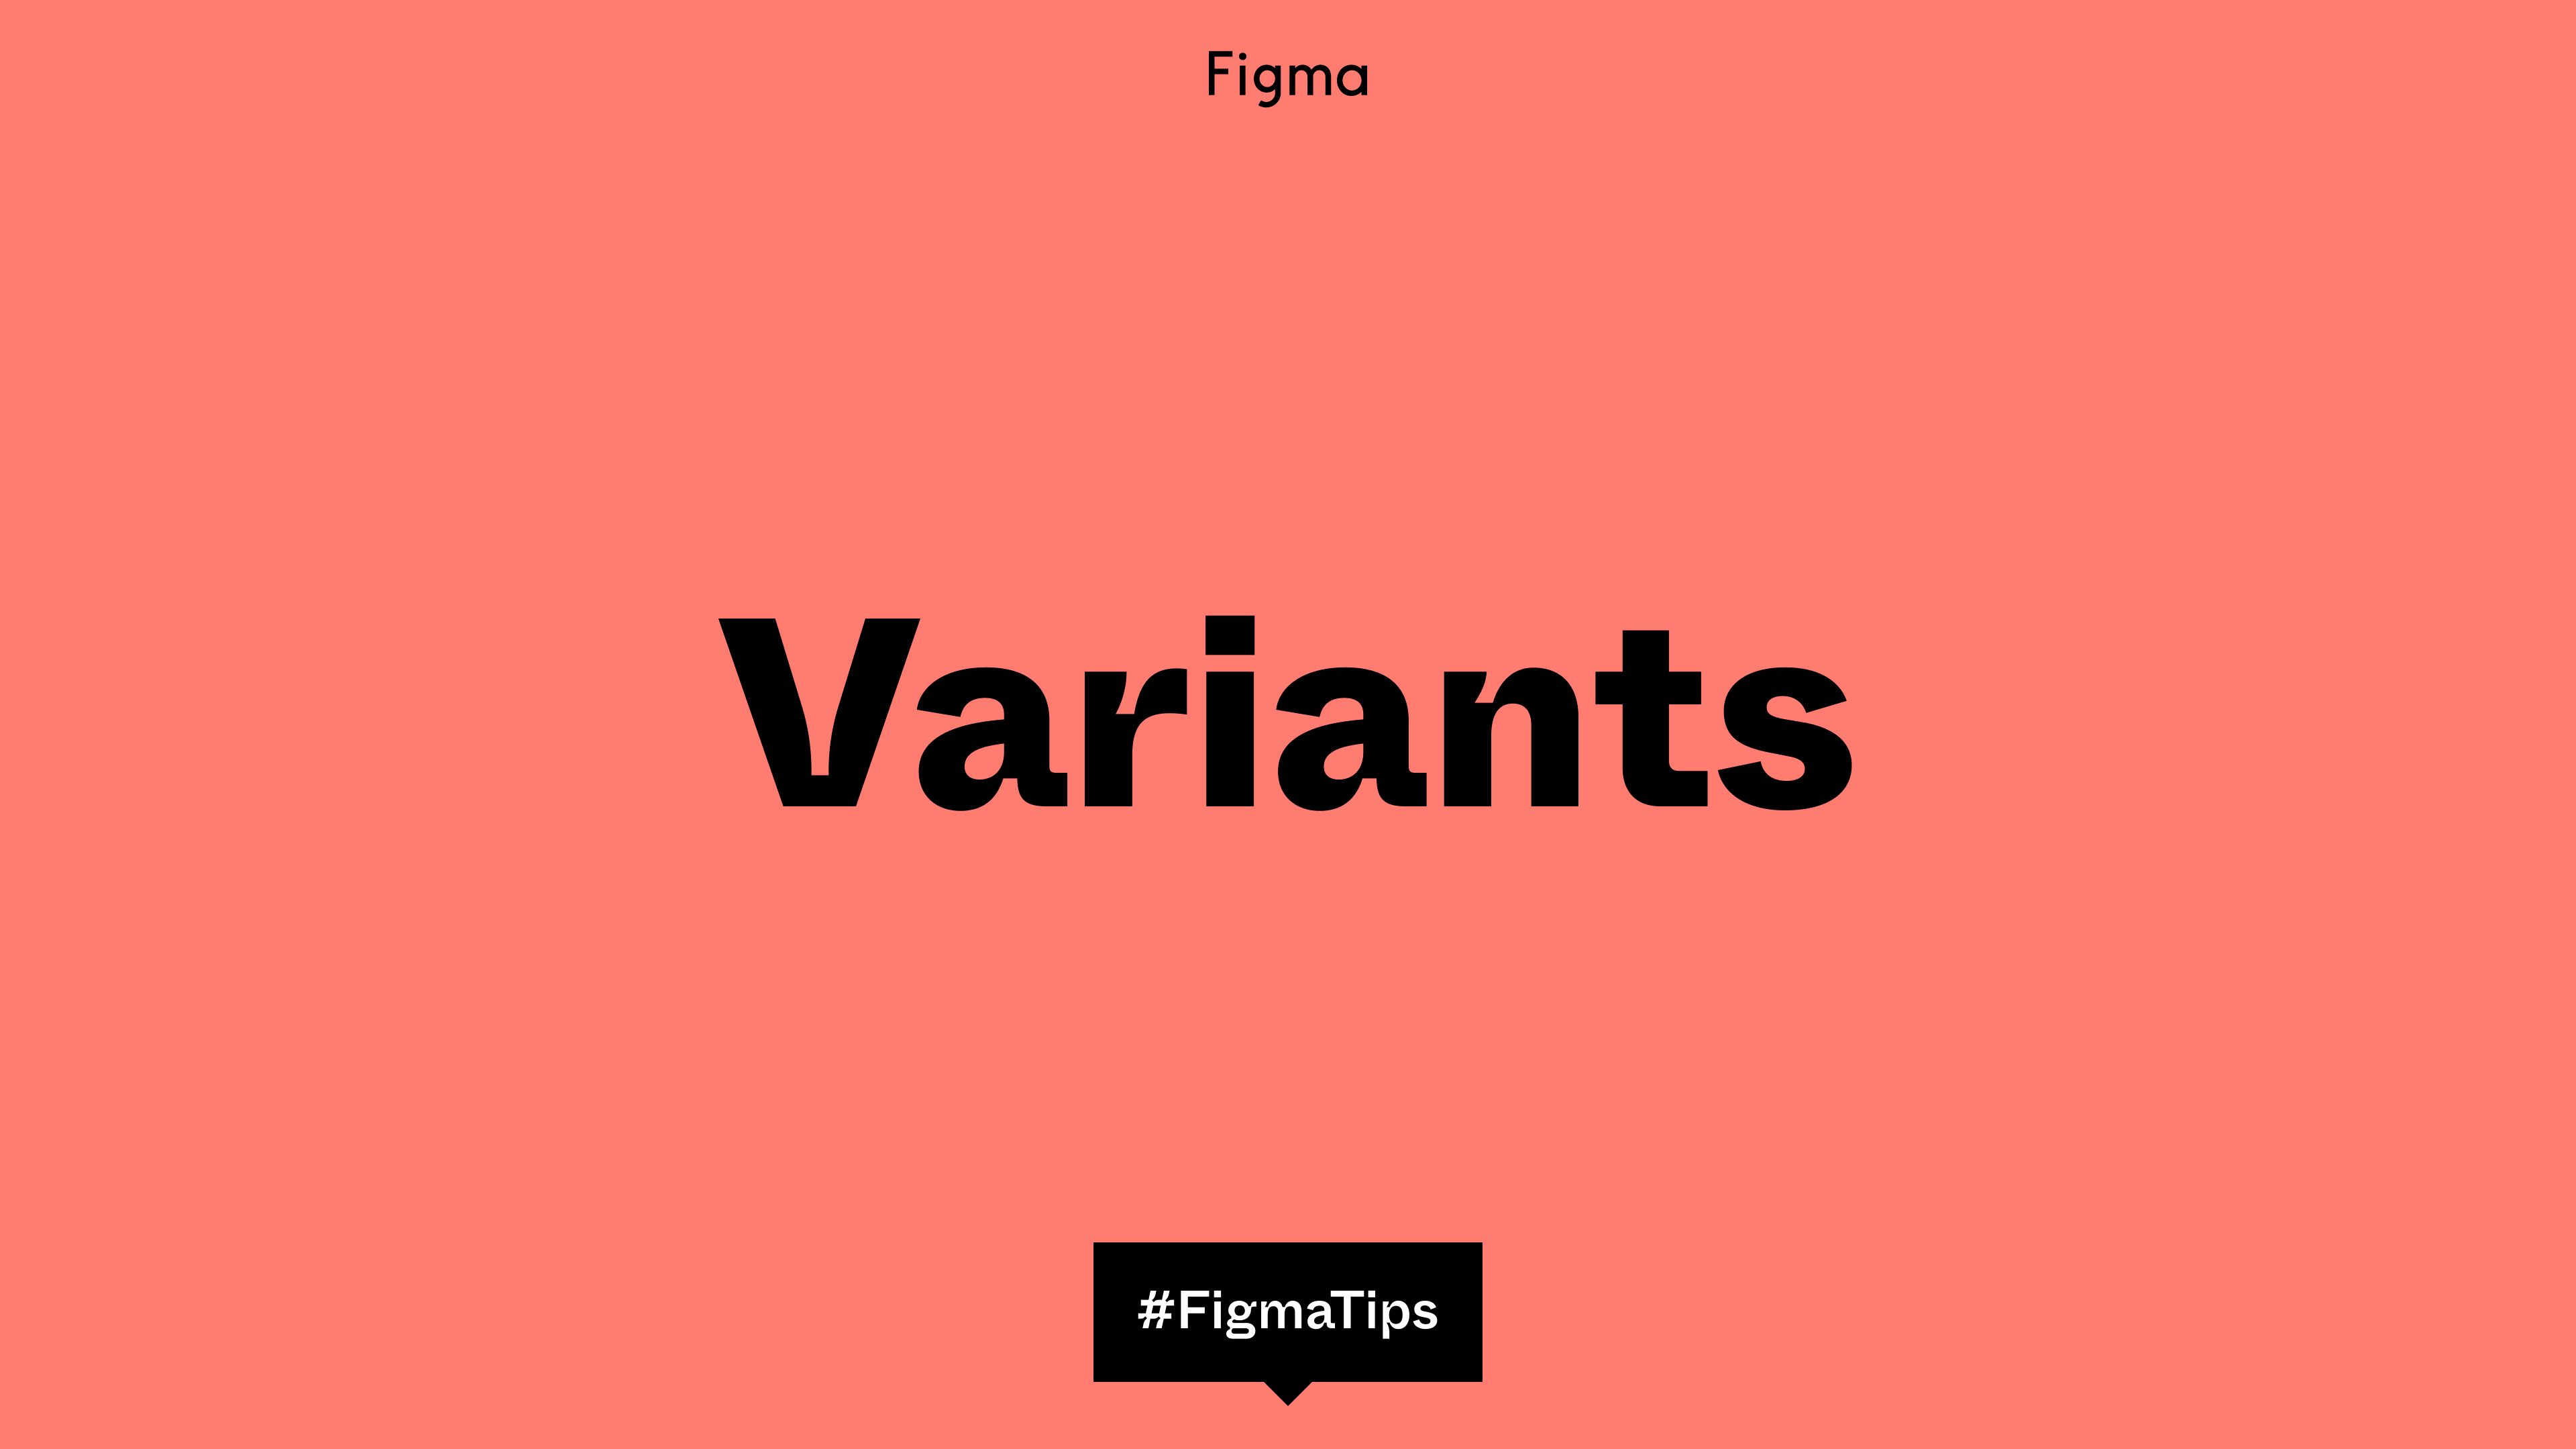
Variants allow you to group similar components into a single container. Check out this video walkthrough and learn how to use them in your design work.
Step 3: Collaboration
Lastly, optimize your button for others to use by integrating properties and communicating how it’s meant to function.
- Make your button editable and flexible with text layer and icon swap properties.
- Open component configuration, and add documentation context for each variant.
- Publish and share your library for others to use.

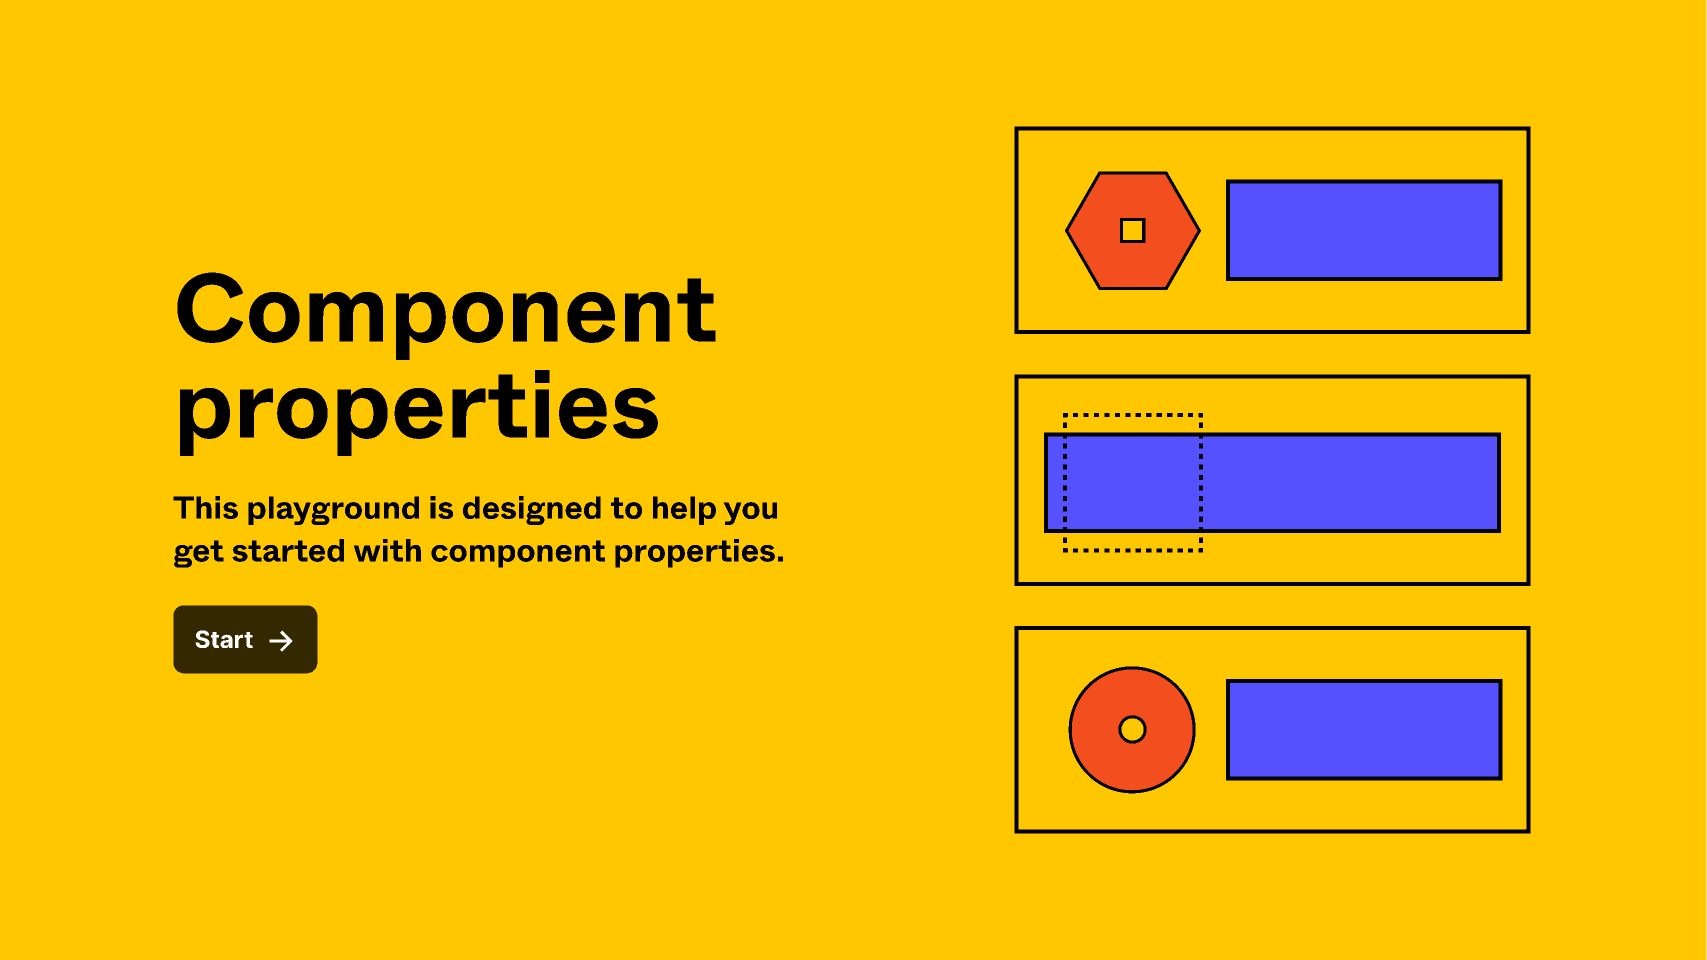
Dive into the details with the component properties playground file to make your components more flexible and better aligned to code.
At this point, you’ve not only created a button; you’ve touched nearly every surface of the design editor and seen how to apply the three Cs. From here, you can keep adding steps (e.g., turning styles into variables and turning the button into an interactive component), but the value of the exercise is to experience a broad workflow to understand where you need more guidance—or where you have the appetite to go next.
Pulling from resources
What the specific ladder looks like will vary based on your role and goals, but you don’t have to make the climb alone. One of my biggest pieces of advice is to jump into the Figma Community, where you can find thousands of templates, plugins, and files to help you get started. Grab content to duplicate, deconstruct, and play with. Playground files, for example, break down features into digestible parts for hands-on learning. Open-source design systems allow you to see how others have structured and set up their designs and documentation.
If you’re joining a team already using Figma, ask for templates, recordings, and other resources that can help you get started. Some teams even hold Figma office hours to troubleshoot or learn new features together.
Plus, now you can access Apple iOS, Google Material Design, and Figma’s Simple Design System UI kits directly in your assets panel. This allows you to drag and drop editable components without having to leave the file. Each kit has been set up with variables and properties and is tied to Code Connect, so you can inspect, reverse engineer, and test your growing skills with their components.
Embracing the journey
For more tips from the designer advocates, check out these ultra-short videos and this series on learning Figma as a project manager or marketer.
Everybody’s journey is different, so take the tips that most resonate with you. Above all, enjoy the process—set goals for yourself, but don’t forget to make space for play. What I initially feared would be overwhelming turned out to be an adventure because every skill I picked up and tutorial I watched pointed at new paths to progress.
Be patient, be curious, and take things one step at a time—after all, there’s really no end to learning.